
A robot vacuum not charging comes down to dock power, dirty contacts, poor placement or a worn battery, and these 8 fixes check them in that order.
Read the lights before you start
Indicator colors and blink patterns differ by brand and model, so match yours against the indicator table in the manual. This table maps the three most common symptoms to the fix to start with.
| What you see | Points to | Start at |
|---|---|---|
| Dock light is off | No power reaching the dock | Fix 1 |
| Robot will not return to the dock | Dock location or blocked approach | Fix 2 |
| Robot sits on dock, no charging light | Poor seating or dirty contacts | Fix 3 |
| Charging light on, percentage not rising | Software glitch or worn battery | Fix 6 |
Work from the first matching row, and keep going down the list if that fix changes nothing.
Fixes 1-3: Power, dock placement and seating
- Fix 1, test the outlet. Plug a lamp into the same outlet to confirm it has power. Then plug the dock directly into the wall, not a power strip, and push the adapter plug fully into both the dock and the wall end. If the dock light stays off, try a second outlet before touching anything else.
- Fix 2, move the dock. iFixit recommends at least 50 cm (about 20 in) of clear space on both sides and 1 m (about 3 ft) in front, and advises against corners and spots under furniture. Put the back of the dock flat against a wall so it cannot slide when the robot docks. Our robot vacuum setup guide covers first-run dock placement in more detail.
- Fix 3, seat the robot by hand. Line up the metal contacts on the underside of the robot with the plates on the dock and press it on until the charging light responds. If it charges when placed by hand but not when it docks itself, the battery is fine and the problem is the approach, so go back to Fix 2.
Fixes 4-5: Clean the contacts and inspect the cord
- Fix 4, clean the contacts. Unplug the dock and power off the robot first. Wipe the metal plates on both the robot and the dock with a lint-free cloth. iFixit suggests a small amount of isopropyl alcohol on the cloth, while LG advises only a dry cloth or soft brush and warns against thinner, solvent or acetone. Where the two differ, follow your manual, and let everything dry fully before docking. Look for a dull film or dark spots, which block current even when the plates look clean.
- Fix 5, inspect the cord and adapter. Run your fingers along the cable for kinks, cracks or loose plugs. Replace any damaged cable or adapter with a manufacturer part whose voltage and amperage match the rating label on your original. Do not open the adapter, because its capacitors can hold a charge after unplugging.
Fixes 6-7: Reset the robot, then let it rest
- Fix 6, power cycle or reset. Switch the robot off, wait a few seconds and switch it on. For a deeper reset, Narwal’s guide says Roomba models reset by holding the CLEAN button for 20 seconds; other brands use different button combinations, so look up the reset steps for your model in the manual. A reset can clear saved schedules or settings on some models. If your robot uses an app, install any pending firmware update there. Models that never connect to Wi-Fi get no updates, which our robot vacuum without WiFi article explains.
- Fix 7, rest it in a normal room. After a long idle period, iFixit says to leave the robot on the dock for 3 to 4 hours even if no light appears, because a deeply drained battery can take time to wake up. LG notes that charging may fail below 5°C (41°F), so move a robot from a cold garage or porch indoors first. If the robot or dock feels hot, Narwal advises letting it cool for 30 to 60 minutes before charging.
Fix 8: Tell a bad dock from a bad battery
Use this rule: if a known-good adapter and dock of the same model charge the robot, the old dock was the fault; if they do not, and the contacts are clean, the battery is the likely cause.
Test the adapter
Set a multimeter to DC volts and touch the probes to the center pin and outer sleeve of the adapter’s output plug while it is plugged into a working outlet. The reading should land close to the voltage printed on the label. No reading, or a reading far below the label, means the adapter is bad and the dock may be fine.
Check for a worn battery
Narwal suggests considering a new battery when the robot is over 2 years old or runs only 20 to 30 minutes after a full charge. iFixit puts typical battery life at about 2 to 3 years or 300 to 500 charge cycles. Whether you can swap it yourself is model-specific, so check the manual before opening the robot. Avoid cheap no-name batteries, which carry a fire risk. If a battery is swollen, hot or smells odd, stop using it and take it to a proper recycling point.
When to contact the manufacturer or replace the robot
LG puts a normal charge at about 4 hours. If the lamp is still flickering after a full day on a tested outlet, LG says the robot or adapter may be faulty, so stop troubleshooting and contact support. Have the model number, purchase date, what the lights do and the fixes you tried ready; the warranty terms are in your paperwork, and a failed battery or dock inside that window is a repair claim, not a purchase.
Out of warranty, price the fix first. If a replacement battery or dock plus shipping approaches the cost of a comparable new robot, replace the robot. If you do, choose a model with a user-replaceable battery and reachable support, and start with our best robot vacuums list.
Our Top Picks
Ready to shop? These are the top-rated options from our related roundup, Best Robot Vacuums of 2026.

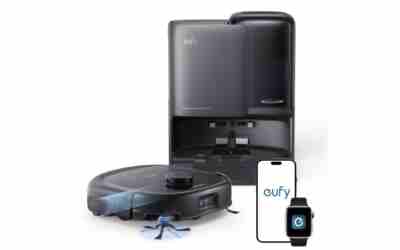
eufy E25 Robot Vacuum with HydroJet Mop

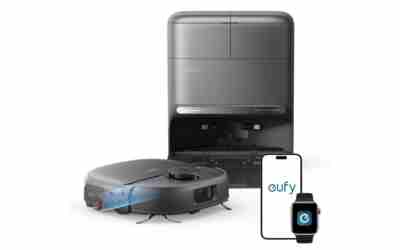
eufy C28 Robot Vacuum and Mop Combo, 15,000 Pa
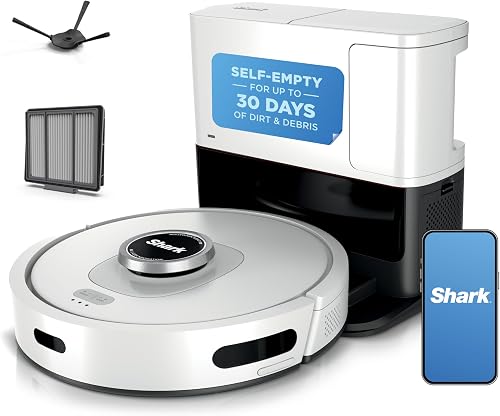
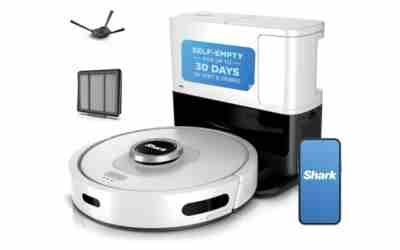
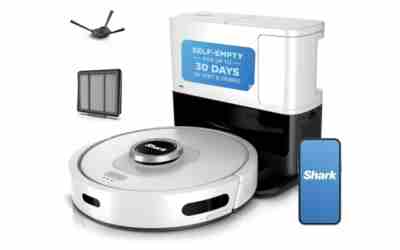
Shark AI Ultra Robot Vacuum AV2511AE
As an Amazon Associate we earn from qualifying purchases. Product prices and availability are accurate as of the date/time indicated.
Frequently Asked Questions
Can I charge the robot without its dock?
No. Charge it only through the dock or charger supplied for that model. Wiring a battery to a third-party charger or bypassing the dock voids the warranty and creates a fire risk. The manual lists the one approved charging route.
Should the robot stay on the dock all the time?
Yes. Docking after each run is how the robot is designed to work. Narwal advises keeping the battery above 20% to avoid deep discharge, so do not leave it dead on the floor for weeks between runs.
Can a tripped GFCI or wall switch stop the dock from powering on?
Yes. Garage, bathroom and outdoor outlets often sit behind a GFCI, and some living-room outlets are controlled by a wall switch. Press RESET on the GFCI or flip the switch, then confirm the dock light comes on.
Can I replace the battery myself?
Only if the manual shows a user-accessible battery door and an approved part number. If the battery sits behind sealed housing, use the manufacturer’s service or an authorized repair shop instead of opening the robot.
{“@context”: “https://schema.org”, “@type”: “FAQPage”, “mainEntity”: [{“@type”: “Question”, “name”: “Can I charge the robot without its dock?”, “acceptedAnswer”: {“@type”: “Answer”, “text”: “No. Charge it only through the dock or charger supplied for that model. Wiring a battery to a third-party charger or bypassing the dock voids the warranty and creates a fire risk. The manual lists the one approved charging route.”}}, {“@type”: “Question”, “name”: “Should the robot stay on the dock all the time?”, “acceptedAnswer”: {“@type”: “Answer”, “text”: “Yes. Docking after each run is how the robot is designed to work. Narwal advises keeping the battery above 20% to avoid deep discharge, so do not leave it dead on the floor for weeks between runs.”}}, {“@type”: “Question”, “name”: “Can a tripped GFCI or wall switch stop the dock from powering on?”, “acceptedAnswer”: {“@type”: “Answer”, “text”: “Yes. Garage, bathroom and outdoor outlets often sit behind a GFCI, and some living-room outlets are controlled by a wall switch. Press RESET on the GFCI or flip the switch, then confirm the dock light comes on.”}}, {“@type”: “Question”, “name”: “Can I replace the battery myself?”, “acceptedAnswer”: {“@type”: “Answer”, “text”: “Only if the manual shows a user-accessible battery door and an approved part number. If the battery sits behind sealed housing, use the manufacturer’s service or an authorized repair shop instead of opening the robot.”}}]}